

Drapery Measuring Instruction
Outside Mount Roman Shade Measurement Guide
To ensure a perfect fit for your custom Roman shades, follow these measurement steps (use a steel tape measure, record to the nearest 1/8 inch, and measure each window individually).
1. Determine Mount Type
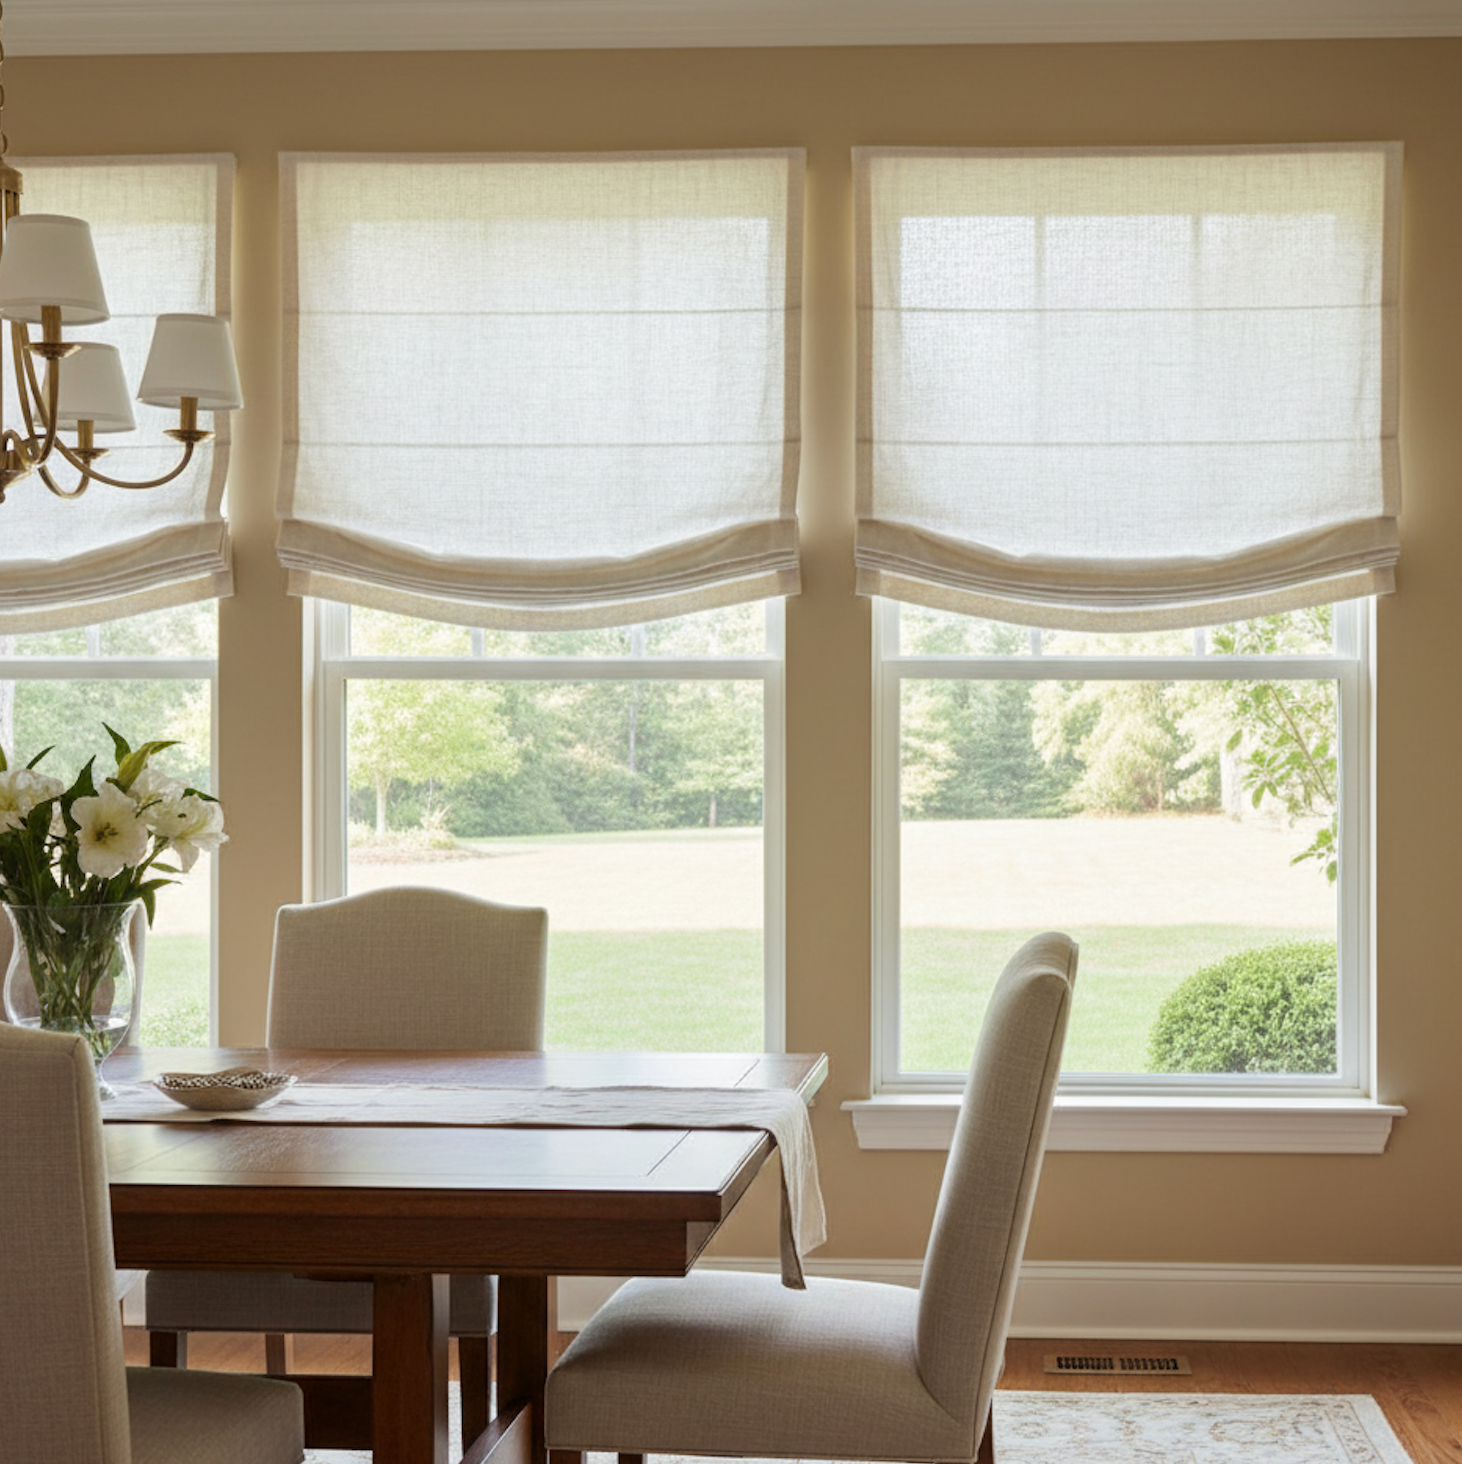
First, decide between inside or outside mount. Outside mount shades cover the entire window frame and install on the wall above the window, ceiling, or window molding. Ideal for insufficient frame depth or obstructions around the frame.
2. Measure Height
Measure from the top of the window frame (or wall above) to the desired bottom of the shade. Extend 2–3 inches beyond the top and bottom to minimize light leakage. For protruding sills, stop at sill level to avoid obstruction. For multiple windows of similar height in the same room, order based on the tallest measurement to ensure consistent pleating.
3. Measure Width
Measure the window frame width, adding 2–3 inches to each side (4–6 inches total) to prevent side light seepage. Note: Fabric rolls are typically 54 inches wide; shades exceeding 50 inches will require vertical seaming to achieve the necessary width (industry standard).
4. Selecting Fractions
The ordering page offers length and width fraction options. For example, for 36.50 inches, select "36" and "1/2."
5. Submit Exact Measurements
For outside mount Roman shades, provided dimensions are the finished product specifications (tolerance ± a few millimeters). No deductions will be made—please measure precisely.